Kubernetes
Deploy your agent to a Kubernetes cluster.
Before you begin
- Follow the Get started guide to set up agentregistry and start the agentregistry daemon.
- Publish an agent
- Create a Kubernetes cluster. For example, you can use the following command to create a
kindcluster.kind create cluster --name agentregistry - Make sure that your current kubeconfig context points to the cluster that you want to use.
kubectl config get-contexts - Follow the Quickstart in the kagent OSS documentation. Agentregistry uses kagent for the bootstrapping during an agent deployment.
Local kind and minikube setups
If you want to test this capability in a local Kubernetes environment, such as kind or minikube, you must update the server address in your kubeconfig file to point to the Docker host host.docker.internal instead of 127.0.0.1 or localhost. Because agentregistry runs by using Docker compose, this change is necessary so that agentregistry can reach the kind service on your host machine.
-
Load the
myagentimage to your kind or minikube cluster. The following command assumes that you. use kind and that your cluster is namedagentregistry.kind load docker-image ghcr.io/myagent:latest --name agentregistry -
Edit the kubeconfig file on your local machine. Typically, this file is stored in the
~/.kubefolder and namedconfig. However, your kubeconfig file might be namedconfig.dockeror similar. Adjust the command to point to your kubeconfig file location.nano ~/.kube/config -
Find the kubeconfig entry for the cluster that you are interested in. For example, if you used
kindand named your clusteragentregistry, look for akind-agentregistryentry. Then update the server address from127.0.0.1tohost.docker.internaland replace thecertificate-authority-datasection withinsecure-skip-tls-verify: trueas shown in the following snippet. Make sure to keep the port that your kubeconfig pointed to before.- cluster: insecure-skip-tls-verify: true server: https://host.docker.internal:51595 name: kind-agentregistry
Deploy the agent
-
Deploy the agent to your cluster.
arctl agent deploy myagent --runtime kubernetes --namespace defaultExample output:
Agent 'myagent' version 'latest' deployed to kubernetes runtime in namespace 'default' -
Local test setups only: Revert the changes that you previously made to your kubeconfig file.
-
Verify that the agent is up and running.
kubectl get pod -l "app.kubernetes.io/name=myagent-latest"Example output:
NAME                              READY   STATUS    RESTARTS   AGE
myagent-latest-687c4c88b9-xwjzx   1/1     Running   0          10s
-
Navigate to the Published view. Find the agent image that you want to deploy and click Deploy.
-
From the Deployment destination drop down, select Kubernetes and click Deploy.

-
Go to your cluster to check that the agent is deployed.
kubectl get pod -l "app.kubernetes.io/name=myagent-latest"Example output:
NAME READY STATUS RESTARTS AGE myagent-latest-687c4c88b9-xwjzx 1/1 Running 0 10s -
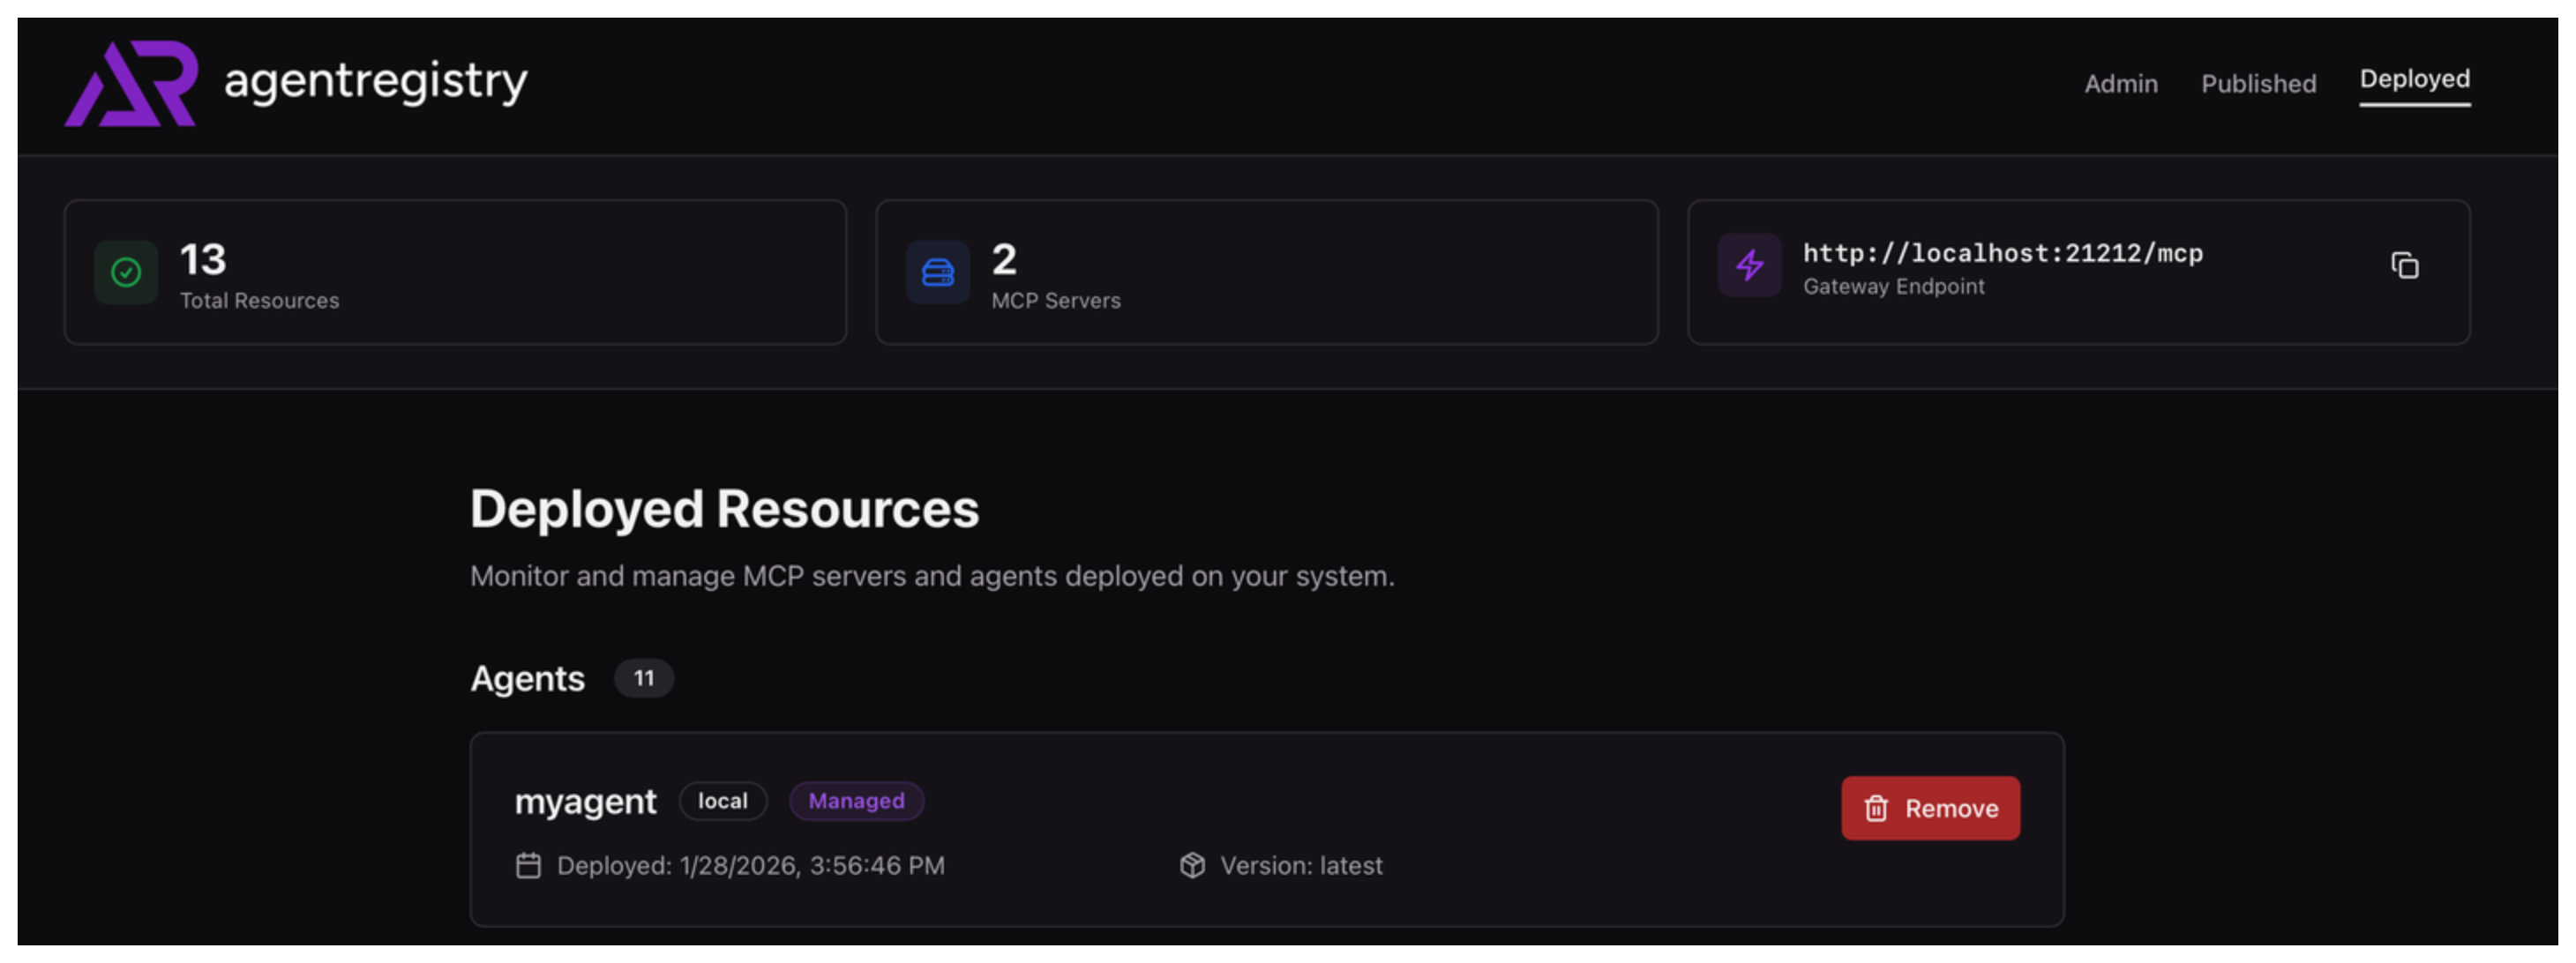
In the agentregistry UI, go to the Deployed view and verify that you see your
myagentdeployment.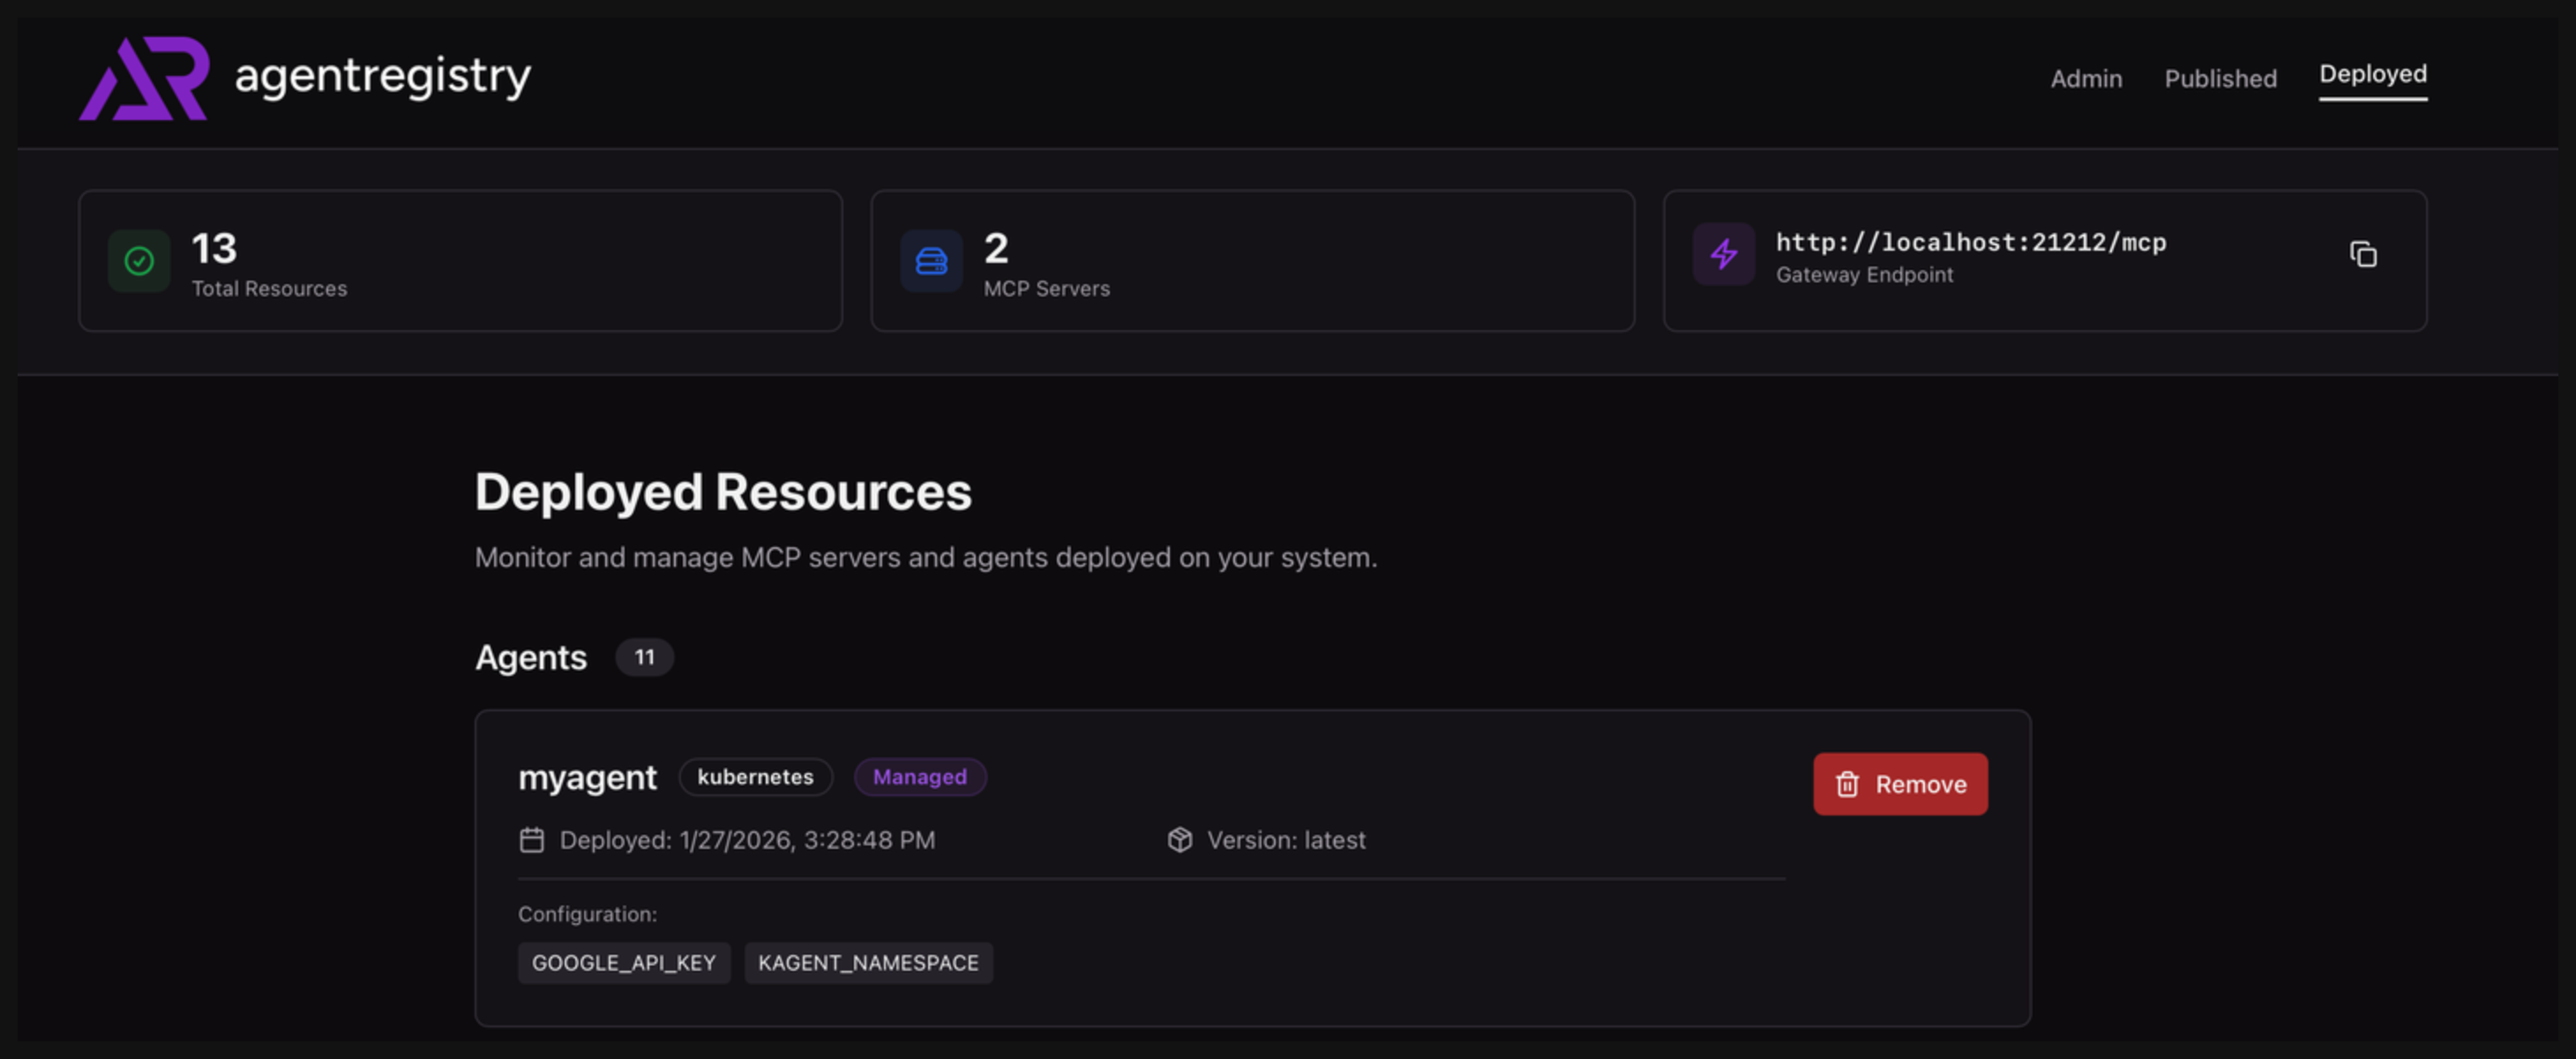
Chat with the agent
Cleanup
- Open the agentregistry UI and navigate to the Deployed view.
- Find the agent deployment that you want to remove. Then, click Remove.